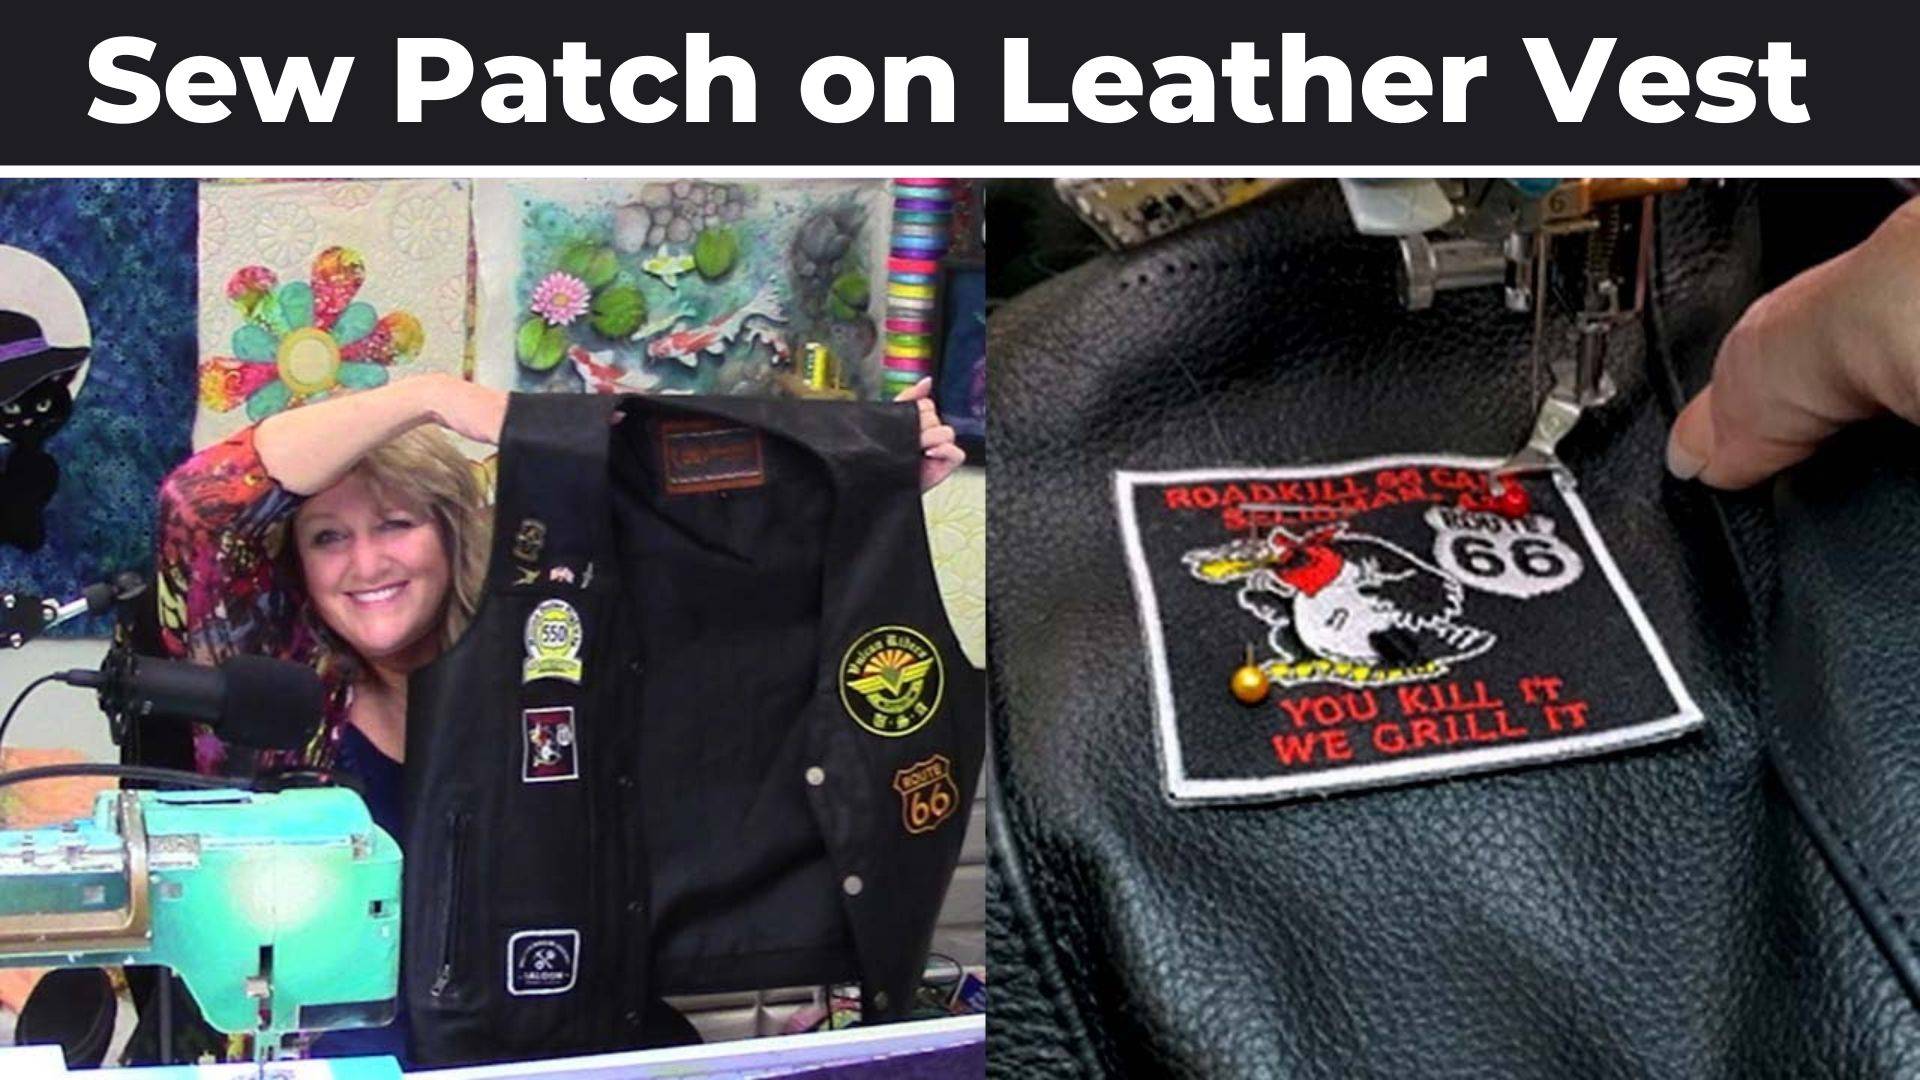
Are you looking for a way to add a little personality to your leather vest? Why not sew on a patch? It’s a relatively straightforward process, and it’ll give your vest a one-of-a-kind look.
Embroidered patches can add personality and style to any leather vest. While you can always pay someone to do it for you, sewing patches onto leather vests is easy and can save you money. If this is a one-time task, sewing the patch by hand would be your best option. If you plan to sew on lots of patches, or do a business out of it, consider investing in a leather sewing machine.
Here’s what you’ll need for sewing patches on a Leather Vest:
- A leather vest
- A patch (or multiple patches)
- Thread
- A needle
- Scissors
How to sew a patch on Leather Vest
- First, you’ll want to choose the location for your patch. Once you’ve decided, lay your vest out flat. Place the patch on the vest where you want it, and use a pencil or pen to mark the outline of the patch.
- Next, cut a piece of thread that’s about 18 inches long. Thread your needle, and tie a knot at the end of the thread. Start sewing the patch onto the vest by inserting the needle through the back of the vest and coming out through the front. Sew along the outline of the patch, and be sure to keep your stitches close together.
- When you get to the end of the patch, tie off the thread and cut the excess. You can now turn your vest right-side out and enjoy your new look!
And that’s it! You’ve now successfully sewn a patch onto a leather vest.

